
Hand-stamping jewellery and accessories is one of the most satisfying crafts to learn. It allows you to create custom, personalised gifts right from your kitchen table or workbench. If you are just starting out, 1mm aluminium stamping is the ideal entry point. Aluminium is lightweight, budget-friendly, and soft enough to yield crisp, deep impressions without requiring excessive force.
This beginners guide covers essential equipment, core techniques, and giftable projects to get you started with 1mm aluminium stamping. Alternatively, if you’d like to see our guide on how to cut 1mm aluminium click here!

The Essential Tool Guide for 1mm Aluminium Stamping
Before striking your first metal blank, set up a solid workspace. Having the correct tools prevents hand fatigue and ensures clean, professional letters.
1. Steel Bench Block
A heavy steel block absorbs the force of your hammer blow. If you stamp on a wooden table or soft surface, the wood will absorb the impact, resulting in faint impressions. Place a rubber pad or folded towel under the block to dampen noise and reduce rebound.
2. Brass Hammer (1lb to 2lb)
Always use a brass hammer rather than a standard steel household hammer. Brass is a softer metal than the steel used in design stamps. When brass strikes steel, it prevents the stamp from jumping or rebounding, which reduces ghosting (double impressions).
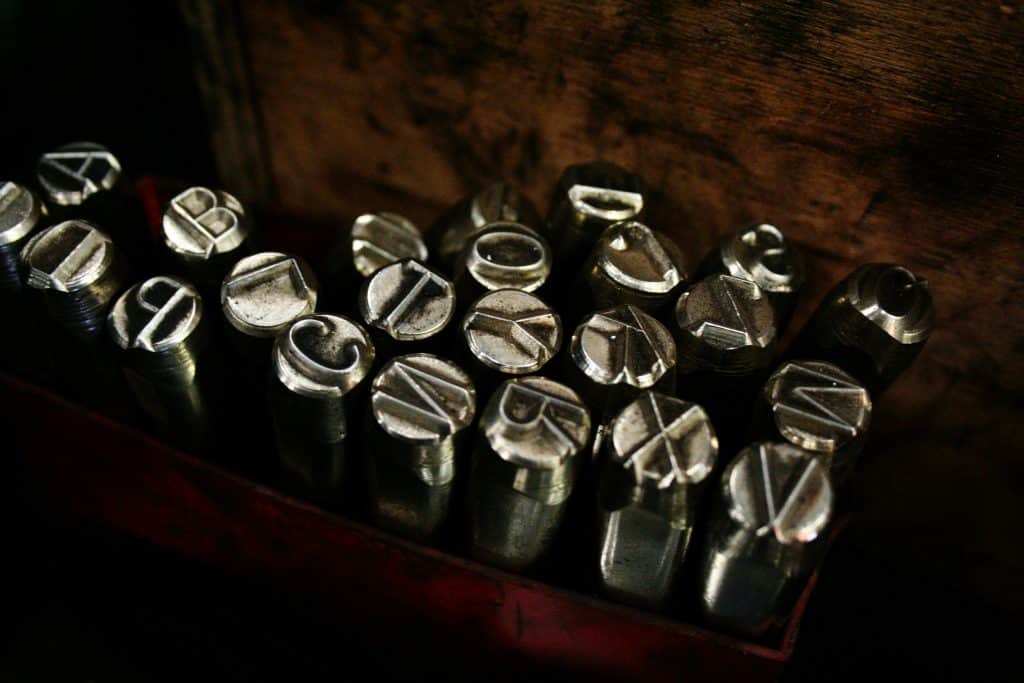
3. Steel Letter and Number Stamps
Start with a basic 3mm sans-serif alphabet set in uppercase. Lowercase letters and intricate fonts require precise spacing alignment, whereas uppercase letters are far more forgiving for beginners.
4. 1mm Aluminium Metal Blanks
Aluminium blanks with a 1mm thickness (often sold as 18-gauge) strike the ideal balance for beginners. They are thick enough to prevent warping when stamped, yet soft enough to take a clean impression with a single hammer blow.
5. Stamping Tape and Enamel Marker
Acrylic Enamel Marker or Sharpie: Used to darken the stamped impressions so the design stands out against the silver-coloured aluminium.
Stamp Straight Tape: Secures the metal blank to your block and acts as a visual baseline for straight lettering.
Key Techniques for Successful 1mm Aluminium Stamping
Mastering 1mm aluminium stamping comes down to grip, alignment, and hammer control. Follow these step-by-step techniques for clean impressions every time.
1: Secure Your Aluminium stamping blank and Line Up
- Place your aluminium blank onto the centre of your steel block.
- Apply a strip of stamping tape horizontally across the blank. The top edge of the tape marks where the bottom of your letters will sit.
2: Hold and Position the Stamp
- Hold the stamp near the bottom of the shank using your non-dominant hand, keeping your fingers firm against the block for stability.
- Position the stamp upright at a 90-degree angle to the metal.
- Drag the stamp downwards until you feel the bottom edge touch the top rim of the tape.
Pro Tip: Tilt the stamp slightly towards you to check that the letter orientation is correct before striking. Never strike twice, as microscopic shifts cause double lines.
3: The Single Strike Method
- Hold your brass hammer near the end of the handle for maximum leverage.
- Strike the top of the stamp squarely with medium force. Because 1mm aluminium is soft, one crisp strike is all you need to create a clear impression.
4: Darkening the Impression on your Aluminium stamping
Fill the stamped grooves with an acrylic enamel marker or a black Sharpie.
Let the ink dry for 30 to 45 seconds.
Wipe across the surface with a paper towel or a microfibre cloth to remove excess ink, leaving dark, sharp lettering in the recessed grooves.
Stamping 1mm Aluminium – Potential Giftable Projects for Beginners
Once you feel comfortable stamping basic letters, try these popular projects.
Stamped Aluminium Keyrings
This classic, practical gift utilises a 50mm x 12mm rectangular aluminium blank, which easily transforms into a daily keepsake when attached to a standard split ring. When deciding what to stamp, start with popular choices like motivational, short quotes such as “DRIVE SAFE” or “HOME SWEET HOME”. Alternatively, you can opt for a more subtle design by stamping meaningful scripture numbers or significant dates in Roman numerals (e.g., XVI.V.MMXXI). For an exceptionally personal touch, consider stamping the exact GPS coordinates of a favourite location to capture a cherished memory wherever you go.

Themed Stamped Aluminium Plant Marker Sets
Aluminium will not rust, warp, or rot in damp soil, which makes 1mm aluminium stakes far superior to standard wooden craft sticks for garden organisation. When deciding what to stamp, start by adding basic herb names such as “BASIL” or “THYME” to keep your kitchen garden in order. In addition to culinary herbs, you can also stamp specific floral varieties for your outdoor beds. Another consideration is that, these durable markers offer a lovely, lasting way to stamp the names of loved ones to create thoughtful floral memorials that stand up to the weather year-round.

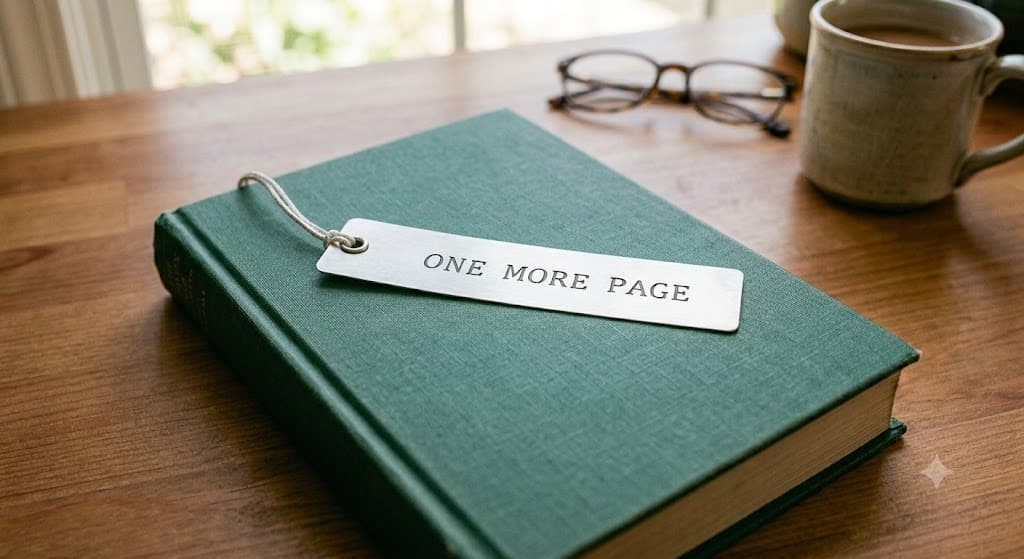
Custom Stamped Aluminium Bookmark
Start with a sleek, durable 120mm x 25mm aluminium strip, which serves as the ideal foundation for a lasting bookmark when finished with a decorative tassel or ribbon threaded through the top mounting hole. To begin customising your piece, consider stamping short literary quotes such as “JUST ONE MORE CHAPTER” or “FALLING ASLEEP HERE”. Alternatively, you can opt for a more personal touch by stamping recipient names, significant dates, or even their favourite book titles. Due to this larger blank offering an ample surface area, you have the flexibility to combine both short phrases and personal details across multiple lines for a truly bespoke creation.
Ultimately, learning 1mm aluminium stamping is a rewarding skill that opens up endless possibilities for handmade crafting. By investing in a few fundamental tools and taking the time to practise your striking technique, you can easily turn simple metal blanks into cherished, personalised gifts for any occasion. Pick up your hammer, line up your stamps, and enjoy the creative process as you craft your very first bespoke piece.