
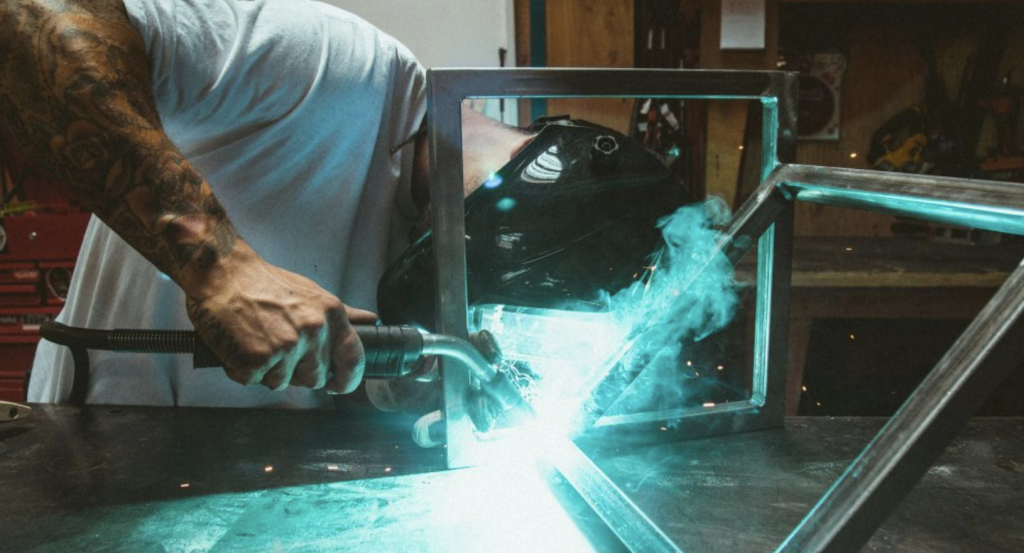
If you are looking to step up your metalworking game, working with aluminium is a fantastic milestone. Read on to find out how best to weld and machine 6052 T6 Aluminium.
While many hobbyists are familiar with 6061 aluminium, 6052 T6 aluminium (often utilised for its excellent corrosion resistance, high fatigue strength, and great workability) is a hidden gem for custom projects. However, if you treat aluminium like mild steel, you are going to have a bad time. Aluminium conducts heat incredibly fast, melts at a lower temperature, and does not change colour before it puddles into a hole on your workbench.
Don’t worry, though! With the right approach, you can master both welding and machining this versatile alloy. Here is your ultimate beginner-friendly guide to conquering 6052 T6 aluminium in your home workshop.
5 Popular Hobbyist Projects Using 6052 T6 Aluminium
Why learn these skills? 6052 T6 is the perfect balance of lightweight strength and durability. Here are five popular projects where welding and machining this alloy shine:
- Custom Drone Frames: Light enough to fly, rigid enough to handle tight maneuvers, and easily machined to mount brushless motors.
- Automotive Intake Pipes & Reservoirs: Perfect for custom turbo plumbing or catch cans. It handles engine bay heat well and looks beautiful polished up.
- Custom Bicycle Cargo Racks: Heavy-duty utility racks for touring or e-bikes that will not add unnecessary weight to your ride.
- Electronic Project Enclosures: Machining precise cutouts for buttons and ports, then welding the chassis together for a sleek, robust, and shielded tech housing.
- Marine Brackets and Rod Holders: Because of 6052’s superior corrosion resistance, it is the gold standard for custom boat modifications and salt-water gear.
The Pros and Cons of Welding 6052 T6 Aluminium
Before you fire up the torch, it helps to know what you are getting into. Aluminium welding is highly rewarding, but it has its quirks.
| The Positives (Pros) | The Negatives (Cons) |
| Incredibly Lightweight: Yields structural welds at a fraction of the weight of steel. | High Thermal Conductivity: Pulls heat away fast, requiring high initial amperage. |
| Corrosion Resistance: The finished weld should not rust, even when exposed to elements. | The Invisible Melt Zone: It does not glow red before melting; it just drops away if you are not careful. |
| Aesthetics: TIG welds on aluminium look like clean, consistent ripples. | Oxide Layer Obstacle: Aluminium oxide melts at a much higher temperature than the aluminium itself, requiring strict cleaning. |
| Fast Cycle Times: Once the material is hot, welding moves incredibly quickly. | Heat-Affected Zone (HAZ): Welding temporarily softens the T6 heat treatment near the joint. |
Do’s and Don’ts for welding with 6052 T6
To save yourself a lot of wasted material and frustration, keep these golden rules pinned to your shop wall.
What to Do
- DO clean, clean, and clean again: Use a dedicated stainless steel wire brush (used only for aluminium) and acetone to remove the invisible oxide layer before welding.
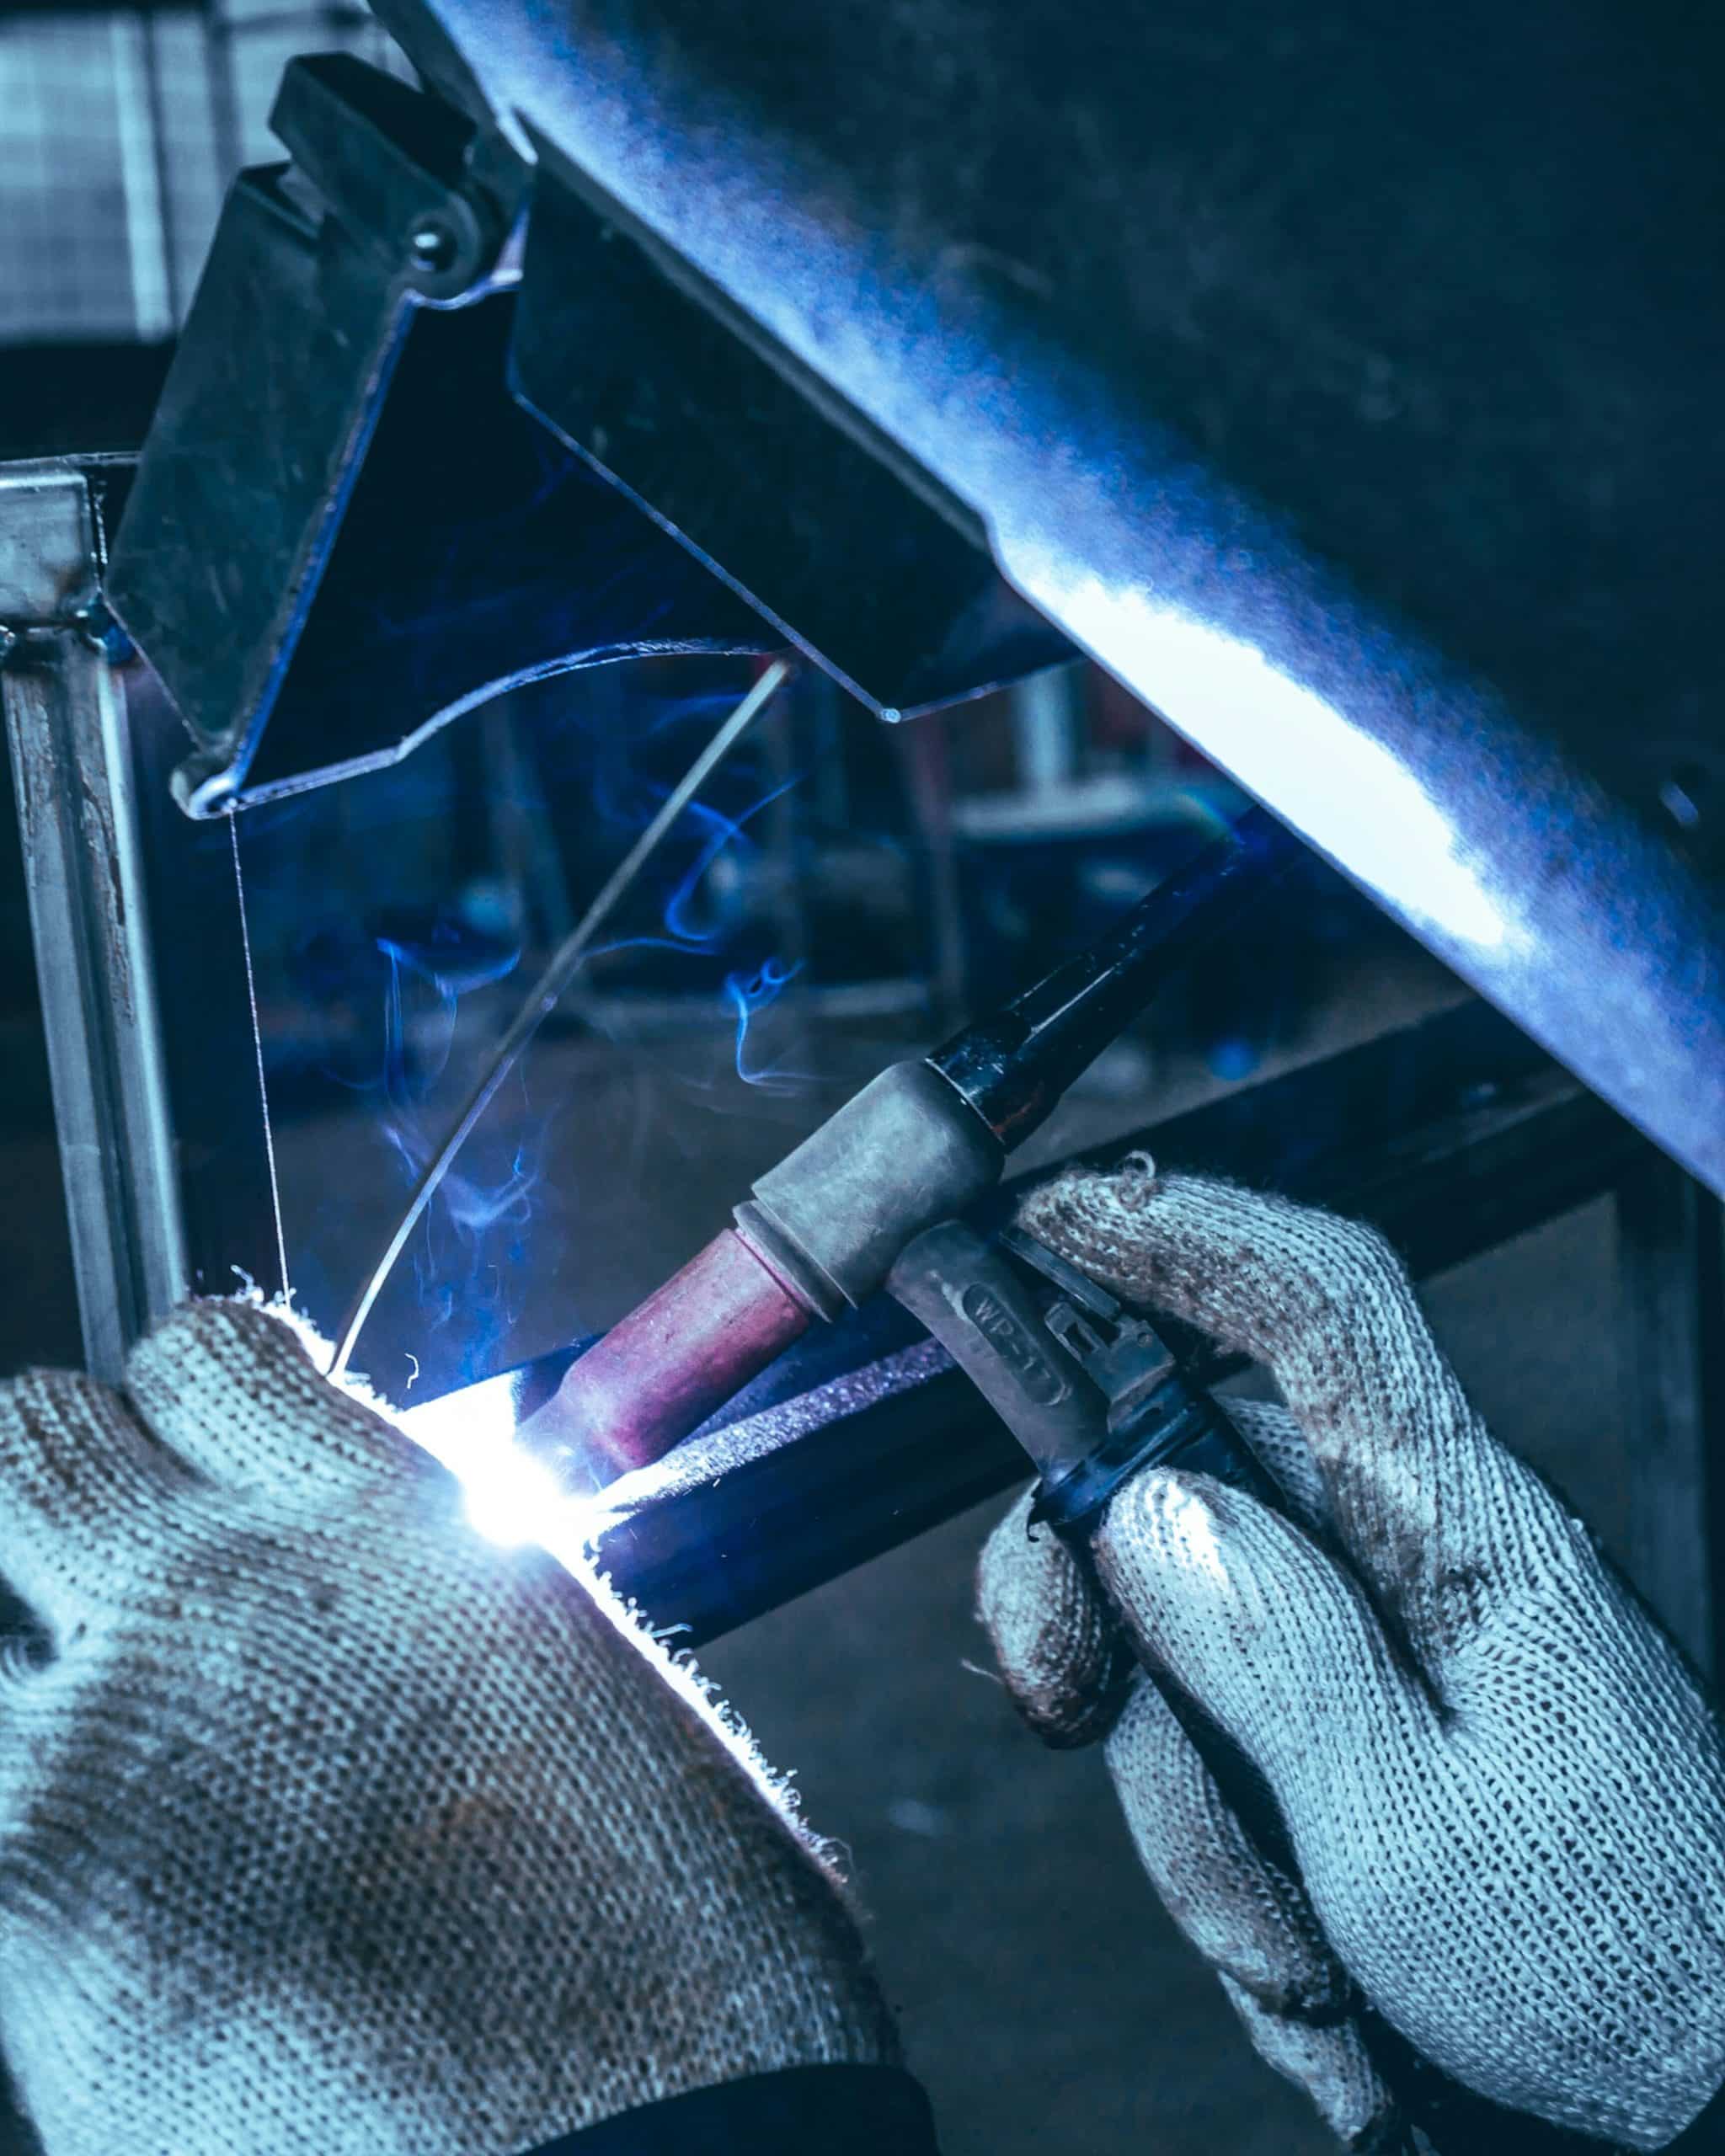
- DO use AC (Alternating Current) for TIG: The positive half of the AC cycle blasts away the oxide layer, while the negative half melts the base metal.
- DO use sharp carbide tools for machining: Aluminium likes to stick to dull tools. Use high-speed steel (HSS) or sharp carbide cutters with a high rake angle.
- DO use a lubricant when machining: Standard WD-40, denatured alcohol, or dedicated aluminium cutting fluid prevents the aluminium from welding itself to your drill bits and end mills.
What Not to Do
- DON’T use a grinding wheel used for steel: It will embed steel particles into your aluminium, causing terrible weld contamination and rust later on.
- DON’T let the material get too hot while machining: Aluminium expands significantly when heated, which can ruin your dimensional accuracy.
- DON’T use the wrong filler rod: For 6052 T6, use 4043 or 5356 aluminium filler wire to prevent hot cracking.
- DON’T rush the feed rate on the mill: Moving too slowly creates friction heat, which causes the aluminium to “smear” and gum up your tools.
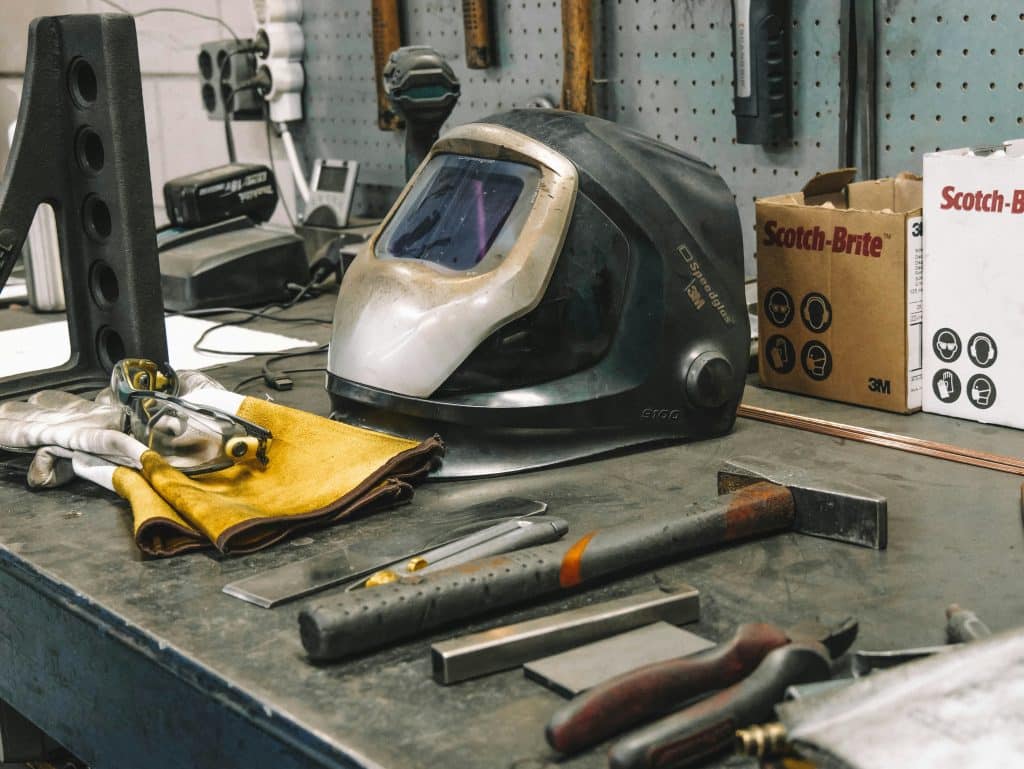
Welding 6052 Aluminium Gear Guide
You do not need an industrial shop to start, but you do need the right tool for your experience level. Here is how to gear up.
Tier 1: The Budget Beginner (Under £400)
- The Setup: An entry-level Spool Gun MIG Welder or a mini benchtop drill press and a portable bandsaw.
- Who it’s for: Hobbyists dipping their toes in. MIG welding aluminium with a spool gun is fast and affordable, though the welds can be a bit smoky and rough.
- Key Tool: A decent angle grinder with dedicated aluminium sanding flaps.
Tier 2: The Serious Hobbyist (£800 – £2,000)
- The Setup: An AC/DC TIG Welder (with pulse settings) and a manual mini mill (like a Sherline or precision bench mill).
- Who it’s for: The maker who wants beautiful, structural welds and high-precision machined parts for functional prototypes.
- Key Tool: A solid foot pedal for the TIG welder to manually control the intense heat needed for aluminium.
Tier 3: The Garage Shop Master (£3,500+)
- The Setup: A high-end, high-frequency Digital AC/DC TIG Welder paired with a Desktop CNC Router/Mill (like a Shapeoko HDM or Tormach).
- Who it’s for: Small business owners, content creators, or advanced hobbyists looking to batch-produce perfect parts automatically.
- Key Tool: A compressed-air mist coolant system for the CNC to keep chips clear and cuts flawlessly smooth.
Pro-Tip for Beginners:
If you’re struggling with how to weld 6052 T6 aluminium, practice running beads on scrap pieces of 6052 T6 without any filler metal first. Get used to watching the puddle form and controlling your speed before you try to join two pieces together!
When it comes to choosing aluminium for Marine and saltwater DIY projects, opting for the wrong metal can lead to structural failure. Saltwater environments are incredibly harsh, causing standard metals to pit, weaken, and corrode within months. To ensure your coastal or marine builds withstand the test of time, you need a true marine-grade material. While several alloys offer basic water resistance, 5083 aluminium stands out as the ultimate gold standard for marine fabrication.

Why 5083 Aluminium is the Gold Standard
The secret to the incredible performance of 5083 aluminium lies in its chemical composition. It is an alloy heavily infused with magnesium. This exceptionally high magnesium content provides two critical advantages for marine environments:
- Exceptional Corrosion Resistance: When exposed to saltwater, the magnesium content helps the metal form a highly stable, self-healing oxide layer. This prevents deep pitting and stress corrosion, even when completely submerged in brine.
- Superb Structural Strength: 5083 maintains exceptional structural integrity and weld joint strength. Unlike other alloys that soften significantly after welding, 5083 retains most of its mechanical strength, making it ideal for heavy impact zones.
5 Practical Uses for 5083 Aluminium in DIY Marine Projects
Whether you are upgrading an existing vessel or building coastal infrastructure, here are five of the best ways to utilise 5083 aluminium sheeting in your next project:
- Hull Plating: Replace corroded or damaged sections of an aluminium boat hull with heavy-duty panels that can withstand wave impacts and resist saltwater erosion.
- Boat Repairs and Patches: Cut custom shapes to reinforce transom mounts, patch punctures, or strengthen internal stringers and ribs.
- Dock and Jet Ski Ramps: Build durable, lightweight walkways, decking plates, or custom drive-on ramps for tidal docks.
- Custom Marine Fuel Tanks: Fabricate secure, leak-proof fuel or water holding tanks that will not corrode from the inside out in damp coastal air.
- Console and Hatch Covers: Create rugged, lightweight steering consoles, electronics enclosures, or watertight deck hatches.
The DIY Advantage
You do not need to buy massive industrial quantities to get premium materials. Our online store allows you to buy exactly the sheet size you need for your project, saving you money and eliminating costly workshop waste.

6062 vs 5083 Aluminium. If you are stepping into the world of DIY, manufacturing or metalworking, walking into a metal supply shop can feel a bit like reading a foreign language. You will see numbers like 6062 and 5083 stamped onto aluminium sheets, but what do they actually mean?
Choosing the wrong type of aluminium can lead to cracked bends, rusted parts or wasted money. Don’t worry, though. Choosing between 6062 and 5083 aluminium is actually quite simple once you know what to look for.
Let us break down the differences in plain English so you can pick the perfect metal for your project.
The Basics: What Do the Numbers Mean?
In the aluminium world, those four-digit numbers are called alloys. Pure aluminium is actually quite soft. To make it stronger and more useful, scientists mix it with small amounts of other metals such as magnesium, silicon or manganese.
- 6082 Aluminium has silicon and manganese added to it. It can be heat-treated (baked at high temperatures) to make it incredibly tough. Think of it as the structural strength option.
- 5083 Aluminium has magnesium mixed in. It cannot be heat-treated, but it handles extreme, wet environments beautifully. Think of it as the rust-proof option.
Here is how they stack up when you put them to work.
1. 6062 vs 5083 Aluminium – Strength and Toughness
If your project needs to hold a lot of weight or handle heavy structural loads, 6082 is almost always the winner.
6082 Aluminium
This is often called a “structural metal.” It usually comes in a version labeled T6, which means it has been heat-treated to be as hard and strong as possible. It is perfect for high-stress items like roof trusses, cranes, and transport frames.
5083 Aluminium
While 5083 is still a strong metal, it gets its strength from being rolled and compressed during manufacturing, not from heat. It is slightly softer than 6082 T6, but it has a unique superpower: it stays incredibly strong and does not shatter in freezing, sub-zero temperatures.
2. 6062 vs 5083 Aluminium – Fighting Off Rust and Water (Corrosion)
If your project is going to get wet, sit outdoors, or handle chemicals, you need to look closely at how the metal reacts to its environment.
5083 Aluminium
This is the ultimate marine-grade aluminium. Because it contains magnesium, it loves the water. It can sit in salty seawater or harsh chemicals for years without rusting away or weakening.
6082 Aluminium
While 6082 handles normal outdoor rain and weather perfectly fine, it will start to degrade if it is constantly dunked in saltwater. It is great for land-based projects, but less ideal for boat hulls.
3. 6062 vs 5083 Aluminium – Welding Them Together
Both metals can be welded using standard workshop equipment, but they react differently after the metal cools down.
5083 Aluminium
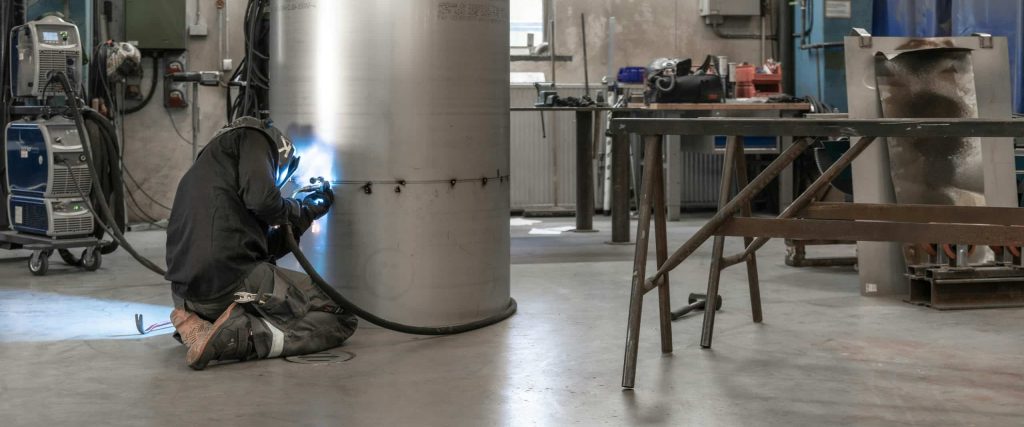
Because this metal does not rely on heat treatment for its strength, welding it does not change its properties much. The area around the weld stays just as tough and reliable as the rest of the sheet. This makes it brilliant for welded storage tanks or ship structures.
6082 Aluminium
Because 6082 gets its strength from a precise heat-treating process, the intense heat from a welding torch can actually “undo” that hardness. The area right next to your weld will become significantly weaker unless you have the ability to heat-treat the entire finished part in a massive oven afterward.
4. 6062 vs 5083 Aluminium – Cutting and Shaping (Machinability)
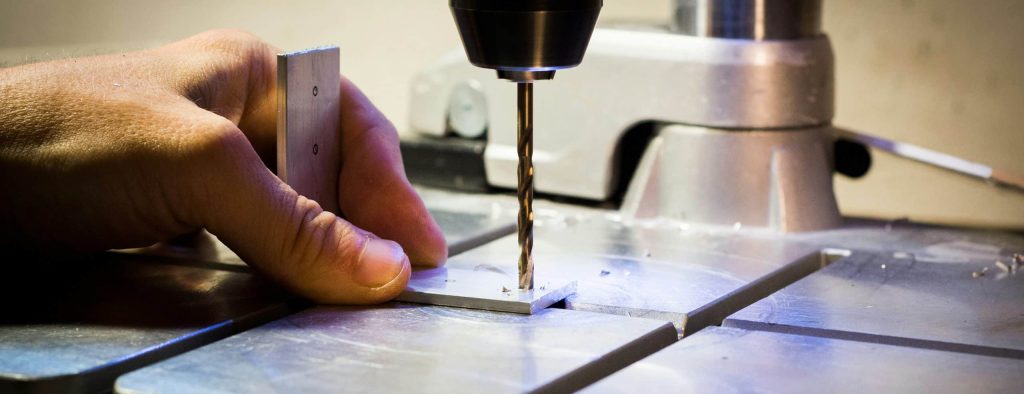
If you plan to drill, mill, or cut your aluminium sheets using a CNC machine or workshop tools, the way the metal cuts matters immensely.
6082 Aluminium
Are you primarily using a CNC mill, lathe or drill press? In its hardened T6 state, 6082 is a dream to machine. It cuts crisply, and the waste metal breaks away into neat little chips. It does not stick to your drill bits, allowing you to cut highly precise, detailed shapes.
5083 Aluminium
Are you cutting simple shapes and doing heavy welding? Choose 5083. It is highly weldable and, crucially, it keeps almost all of its mechanical strength after it has been welded.
Warning – Because 5083 is a bit more pliable, it can act a bit like chewing gum when you try to cut it at high speeds. Instead of neat chips, it creates long, stringy ribbons of metal that can wrap around your tools and clog up your machine if you do not use plenty of oil and the right speeds.
6062 vs 5083 Aluminium – The Final Verdict
| Feature | 6082 T6 | 5083 |
|---|---|---|
| Main Benefit | Highest strength of the 6000 series with excellent structural reliability | Exceptional strength among non-heat-treatable alloys and superb impact resistance |
| Best Environment | General structural engineering, construction and high-stress mechanical applications | Extreme marine environments, cryogenic (very cold) settings and chemical plants |
| Cutting with Tools | Outstanding performance because the T6 temper makes it crisp and highly machineable | Good performance but can require specific tool speeds to avoid clogging |
| After Welding | Suffers a drop in strength around the weld zone unless it undergoes a complex re-heat treatment | Retains exceptional joint strength and excellent corrosion resistance without extra treatment |
| Typical Uses | Bridges, roof trusses, transport cranes, beer barrels and structural scaffolding | Shipbuilding, pressure vessels, rail cars and heavy-duty tipper truck bodies |
| Product Link | SHOP OUR 6082 RANGE | SHOP OUR 5083 RANGE |
- Go with 5083 if your project involves marine environments, heavy welding, storage tanks or needs to absorb impacts without cracking.
- Go with 6082 T6 if you are building structural frameworks, machining precise mechanical components or need the stiffest, strongest metal possible for load-bearing.
Cutting metal at home used to require a workshop full of heavy machinery. Today, you can achieve professional results using the desktop tools already sitting on your craft table. Whether you are making custom jewellery, serial number plates, or architectural models, 1mm aluminium is the perfect thickness for hobbyist machines. It is sturdy enough to hold its shape but thin enough to yield to a blade or laser.
Skip to the Good Stuff
- How to Prepare Your Aluminium Sheeting
- Machine Compatibility (Cricut, Siser & Craft Cutters)
- Hand-Held Tools for Cutting 1mm Aluminium
- Can You Cut 1mm Aluminium with an xTool or Home Laser?
- How to Cut 1mm Aluminium with Home Lasers
- Essential Finishing Steps
- Add to basket
- Important Disclaimer
How to Prepare Your Aluminium Sheeting
Before making a single cut, preparing your stock prevents scratches, dangerous slippage, and inaccurate measurements.
Secure the Workpiece: Clamp the aluminium sheet down securely to a sturdy workbench using wooden scrap pieces under the clamp jaws to prevent denting the sheet.
Clean the Surface: Wipe down the sheet with isopropyl alcohol or warm soapy water to remove oil, dust, and manufacturing residue.
Apply Masking Tape: Lay masking tape or decorator’s tape over the area you plan to mark and cut. This serves two purposes: it prevents metal-on-metal scratches from ruler guides and gives you a surface to mark clearly with a permanent marker or scribe.
Measure & Mark: Draw your cut lines over the tape using a steel ruler as a straightedge.
Machine Compatibility (Cricut, Siser & Craft Cutters)
Can a Cricut or Siser cut 1mm aluminium?
No. Blade-based craft plotters like the Cricut (Maker, Explore series) and Siser (Juliet, Romeo) cannot cut 1mm aluminium sheet.
Why Not?
- Thickness & Hardness Limits: Craft plotters are designed to slice through paper, vinyl, leather, and ultra-thin foils. Aluminium drink cans are around 0.1mm, and craft aluminium foil sheets are roughly 0.2mm to 0.3mm. At 1mm, aluminium is around 3 to 10 times thicker than those foils, far exceeding the clearance and force capacity of these machines.
- Mechanism Style: Cutting 1mm metal requires either high shear force or a rotating router bit. A trailing blade dragging through 1mm solid aluminium will instantly dull, snap, or jam the carriage, risking permanent damage to the machine motor.
- Note on Engraving: While a Cricut Maker with an Engraving Tip can etch surface patterns into thin aluminium blanks, it only scratches the surface—it will not cut all the way through 1mm material.
Hand-Held Tools for Cutting 1mm Aluminium
Because aluminium is a relatively soft non-ferrous metal, you can cut 1mm sheets using basic, budget-friendly hand tools:
1. Aviation Snips (Tin Snips)
- Best for: Quick cuts, trimming, and gentle curves.
- How to use: Use compound-leverage aviation snips (yellow for straight cuts, red for left-hand curves, green for right-hand curves). Take small, controlled “bites” along the line.
- Drawback: Snips can slightly twist or curl the edge of the metal as you cut.
2. Utility Knife & Straight Edge (Score and Snap)
- Best for: Long, perfectly straight cuts.
- How to use: Clamp down a heavy steel rule along your cut line. Run a heavy-duty Stanley knife blade firmly against the rule 8–12 times to score a deep line into the metal. Then, line up the score line over the edge of your workbench, clamp a scrap piece of wood on top, and flex the overhang down—it will snap cleanly along the score line.
3. Hacksaw or Hand Jeweller’s Saw
- Best for: Detailed shapes, internal cutouts, or tight corners.
- How to use: Use a high-TPI (teeth-per-inch) metal-cutting blade (24–32 TPI). Keep the sheet firmly supported close to the cut line to stop the metal from vibrating or flexing while sawing.
Safety & Finishing Tip: Hand-cut aluminium leaves sharp edges and tiny burrs. Always wear safety goggles and cut-resistant gloves. Finish your edges using a fine metal file or 220-grit wet and dry sandpaper to knock down sharp corners.
Can You Cut 1mm Aluminium with an xTool or Home Laser?
Yes, but ONLY with specific laser technologies. Aluminium reflects light and rapidly dissipates heat, making laser cutting highly dependent on the laser type and wattage.
LASER COMPATIBILITY
Standard Diode (10W-40W) ❌ NO (Reflects beam/not enough)
Standard CO₂ (55W) ❌ NO (Reflects CO₂ wavelength)
Fiber / MOPA Lasers ✅ YES (Cut capable)
CNC / Fiber Hybrid Units ✅ YES (High power output)
How to Cut 1mm Aluminium with Home Lasers
Which xTool (and Home Laser) Models Work?
- ❌ Standard Diode Lasers (xTool D1 Pro, S1, M1 – 10W to 40W): ❌ NO. Standard blue-diode lasers cannot cut 1mm bare aluminium. The reflective surface bounces the optical beam back (which can damage the lens), and diode power levels are not high enough to melt through 1mm aluminium. They can only engrave/strip dark anodised coatings off aluminium.
- ❌ CO₂ Desktop Lasers (xTool P2 – 55W Glass Tube): ❌ NO. CO₂ laser wavelengths (10.6 µm) pass right through or reflect off raw, unpainted aluminium. While the P2 can engrave anodised aluminium, it cannot cut through a 1mm bare metal sheet.
- ✅ Fiber / MOPA & Metal-Cutting Machines (xTool F1 Ultra / xTool MetalFab series):✅ YES. Fibre lasers operate at a 1064nm wavelength, which is absorbed far better by metals. High-power Fibre lasers (typically 20W–60W+ or dedicated metal-cutting CNC hybrid lasers) can cut 1mm aluminium cleanly when paired with an Air Assist setup to blow away slag.
In summary
If you own a Cricut / Siser: Stick to aluminium foil tape or ultra-thin drink-can metal 0.2mm. Do not attempt 1mm sheeting.
If you want cheap and easy straight cuts: Use the Score & Snap method with a heavy utility knife and a steel ruler.
If you need curved shapes at home: Grab a set of Aviation Snips or a Jigsaw fitted with a fine metal-cutting blade.
If you want laser precision: Skip diode/CO₂ desktop lasers and use a Fibre Laser (or a small home CNC router with an aluminium-cutting endmill).
No matter which method you use, the edges of 1mm aluminium will be sharp.
- De-burring: Use a fine-grit sanding block (400 grit) or a specialised de-burring tool to smooth the edges.
- Cleaning: Wipe the metal with isopropyl alcohol to remove oils or adhesive residue from the cutting mat.
- Safety: Wear eye protection when snapping scored metal because tiny shards can fly.
Shop 1mm Aluminium Sheets | Full Armour
Complete your craft with our high-grade 1mm aluminium, specifically chosen for hobbyists and professionals.
- Easy to Work: Naturally rust-resistant and perfect for engraving, sublimating, or custom metal stamping.
- Precision Sizes: Available in 4″x4″, 7″x5″, and 8″x8″ cuts to minimise waste.
- No minimum order: Whether you need a single sheet for a DIY project or bulk for business, we’ve got you covered.
Order today for a lightweight, durable solution perfect for jewellery, signage, and bespoke fabrication!
Important Disclaimer
The technical advice and cutting settings provided are for informational purposes only. Cricut®, xTool®, Siser® and Silhouette® are trademarks of their respective owners. Full Armour is not affiliated with, endorsed by, or sponsored by these brands. Every machine is calibrated differently; therefore, you follow these suggestions at your own risk. Full Armour is not held accountable for failed cuts, wasted material, or damage to machinery. Furthermore, we accept no liability for personal injury or property damage resulting from these techniques. Always consult your manufacturer’s manual for specific safety protocols. By using this guide, you acknowledge full responsibility for your own safety and the maintenance of your equipment.